
Store and Branch
The appointment schedule displays default store/branch for the user
To change the selected store/branch, click the correlating drop down. If clicked, the appointment schedule quickly updates to the selection.
View
Note: The Scheduler view by default displays By Shop
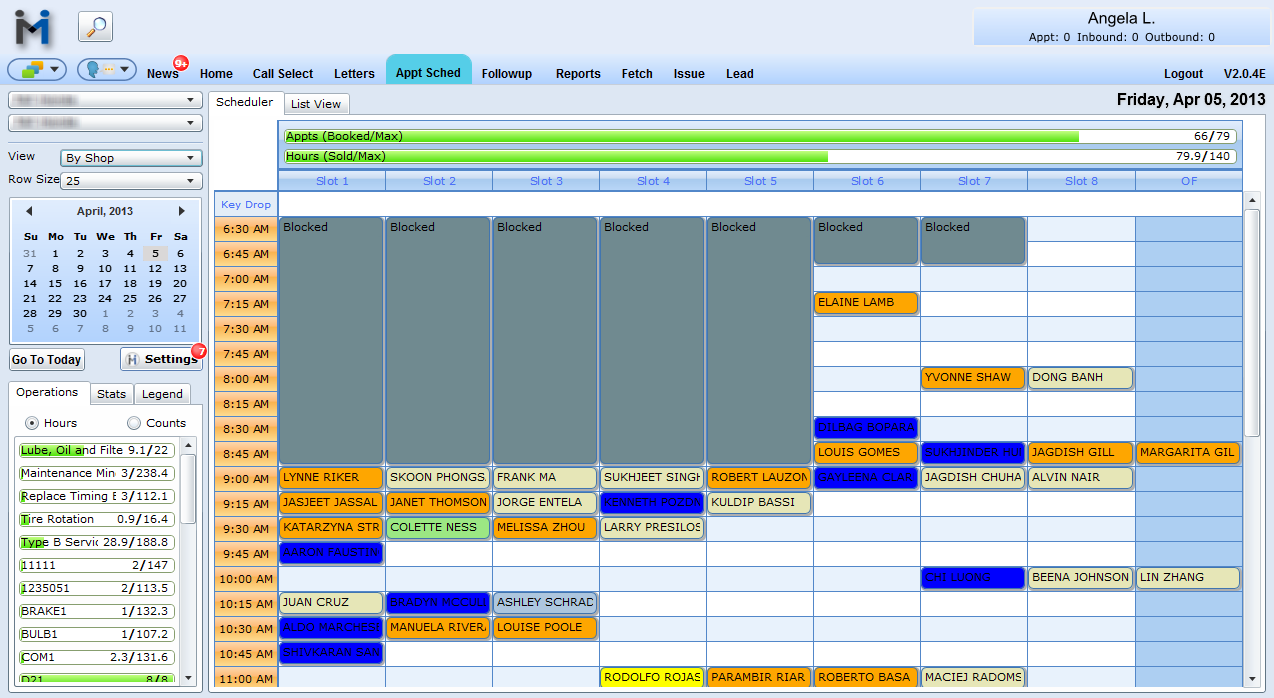
From the View drop down, select By Shop, By Team or By Skill
1. By Shop displays all the shops actions for the selected day and you have the ability to change your row size.
2. By Team displays all teams
The Appts gauge at the top displays how many appointments out of the maximum appointments are booked for the day. The Hours gauge displays how many hours out of the maximum hours are booked for the day.
When By Team is selected, all teams are displayed with another drop down now displaying: Team Filter. For more information, see section below: Team Filter.
A Team Filter drop down will appear once you change your view to be By Team.
To view only an individual team's appointments, select Team Filter, and click the team to view
If this option is selected, the appointment schedule only displays the selected team's appointments with a graph under the team's name denoting how many appointments and hours are booked for the team. So, at a glance looking at this graph, it's easy for a coordinator to tell how busy a team is.
Selecting a team to filter by also updates the side bar menu to display only the team's individual stats.
To mark a Team group as full for the day, right click in header column and select "Mark as Full".

3. By Skill sorts appointments based on the skill group.This view displays the appointment schedule by the skills associated with various opcodes, and it has limited number of slots for each of these skill types.
It is possible for an appointment to span multiple skill groups if it has multiple line items. In this case, it appears separately in each group's column.
If an opcode is linked to a skill group, that group will show on the book appointment form. If a store has skill-based booking and has the preventOverflowBooking flag turned on, times that don't have room for the appt's opcodes will be highlighted in red, and the offending lines will have their groups highlighted in red as well. In this state booking cannot be completed.
To mark a Skill group as full for the day, right click in header column and select "Mark as Full".
Note: Teams cannot be used for this.
Filter

Type Filter - When clicking on the Type Filter drop down and selecting one of the selections i.e. Waiter, all the appointments will be greyed out and only the appointments that have a waiter will be visible on the Appt Sched grid.